Keeping the heat inside during the winter used to be the thing we worried most about when designing a loft conversion. We still have to do that, but our climate is completely different now.
We’re seeing heatwaves that hit more often, stick around for days, and reach temperatures these older houses simply weren’t meant to handle.
Because of that, you really have to treat summer comfort with the exact same priority as winter efficiency. The trick is to build these solutions in at the design stage, which ends up costing a fraction of what you’d pay to retrofit them down the line.
Get the Roof Windows Right From the Start
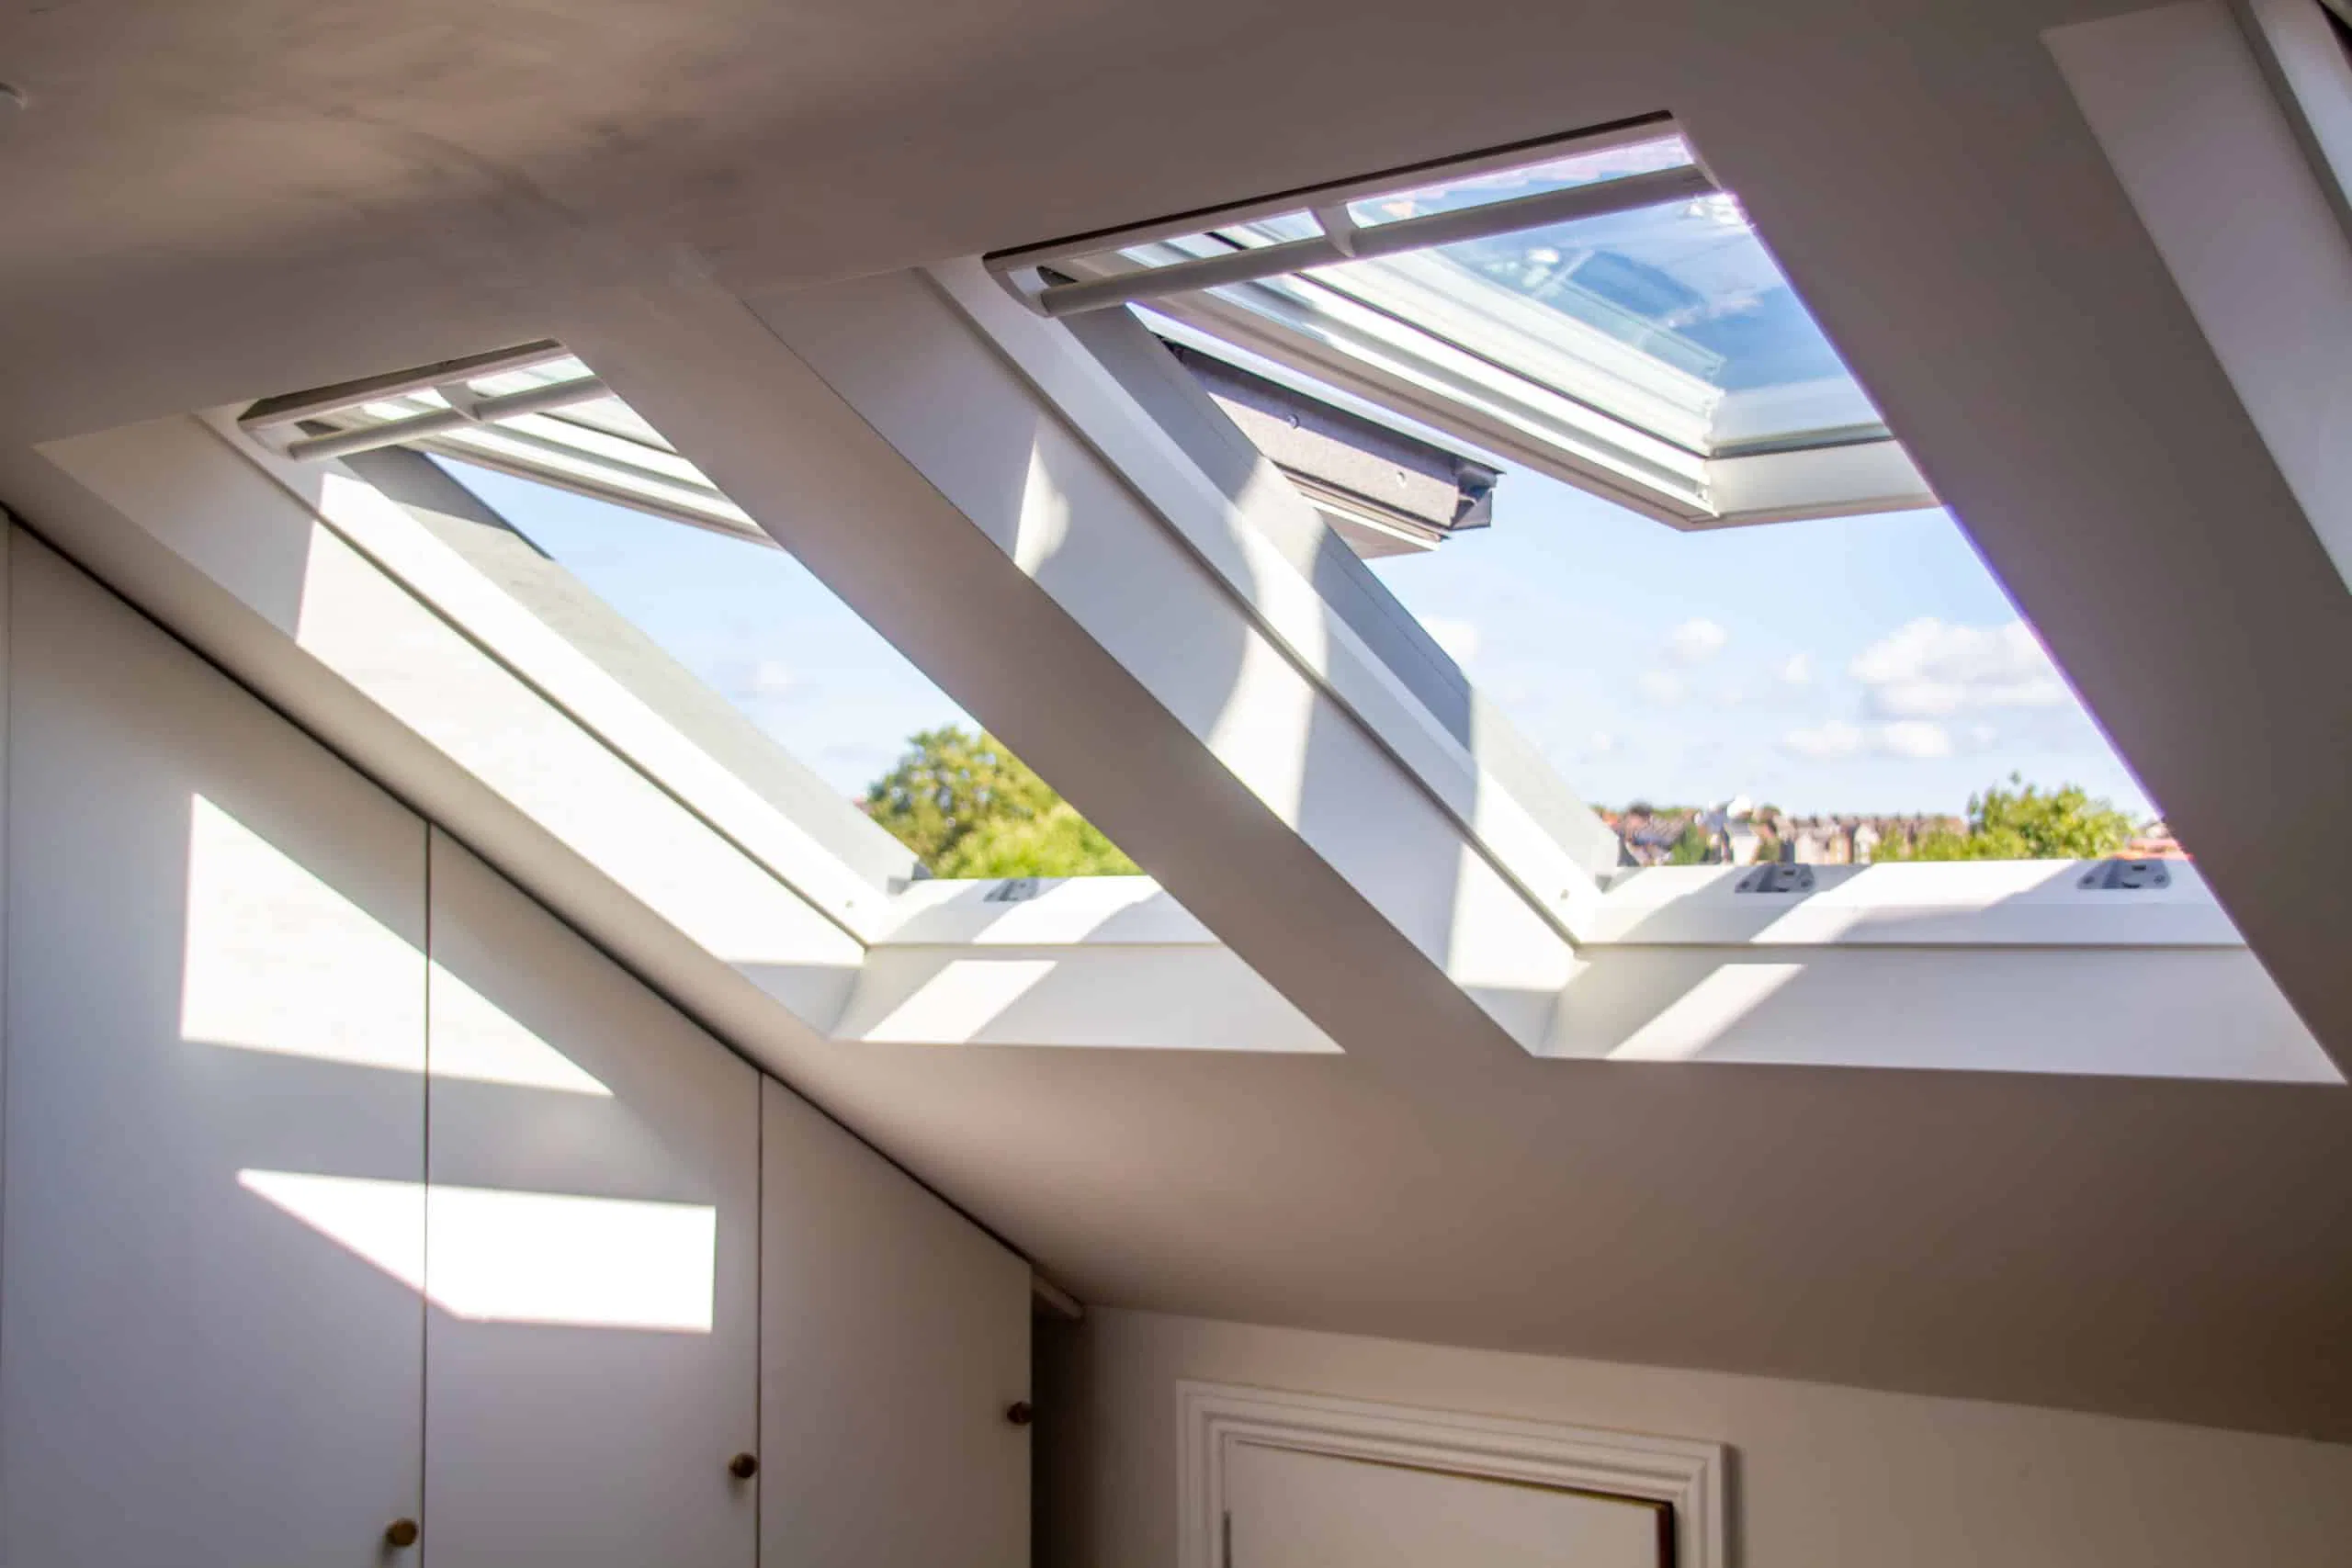
Roof windows get blamed for making loft conversions unbearably hot, but the windows themselves aren’t really the problem. Left exposed to direct sun all day, glass works like a solar collector, and once sunlight passes through, most of that heat stays trapped inside the room. Specify and shade roof windows properly at the design stage though, and the same windows turn into one of the best cooling tools a loft has.
External Shading Beats Internal Blinds
External shutters and awnings stop the sun’s energy before it reaches the glass at all, which is why external shading consistently outperforms internal blinds, cutting overheating by as much as 96%. Internal blackout blinds do offer some relief, but they’re only fighting heat that’s already penetrated the glass.
Plus, putting your shading on the exterior protects the actual window pane. If you just pull an internal blind on a Velux loft window, the sun is still blasting the glass directly. On really hot days, that causes uneven heating across the surface, creating enough tension to literally crack the window, which we call thermal shock. You completely eliminate that risk with external shading because the heat never makes contact. You can also use awnings if you want that same protection while letting some natural light filter in.
Now, if you decide to go with motorised external blinds, you absolutely want a built-in wind sensor so they roll up automatically during a heavy gust to prevent damage. A sun sensor is a smart addition too, dropping the blind the second the sun hits. You can even program a lot of these models to open up during the cooler evenings and close the second it starts raining.
Window Placement
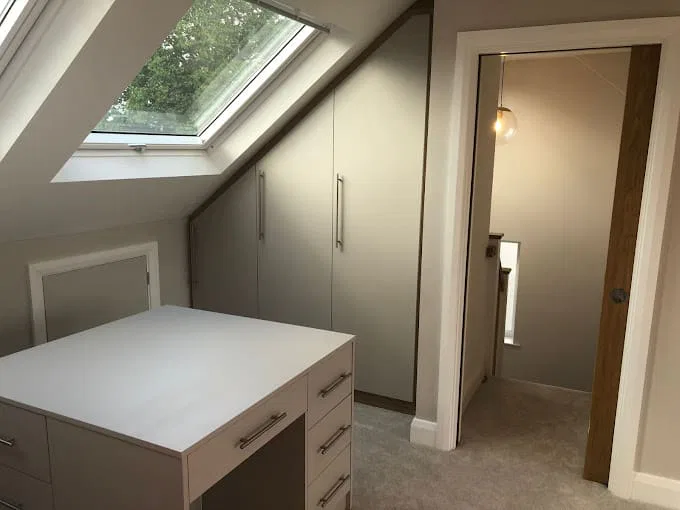
Positioning roof windows on opposite sides of the loft, rather than clustering them on one side, sets up proper cross-ventilation. It’s also worth planning storage around that airflow path rather than against it. A wardrobe or run of fitted furniture built directly under a roof window, or across the route between two windows, interrupts the ventilation the design was supposed to deliver in the first place.
Dormer and Rooflight Orientation
North-facing rooflights are the safe option, since they get minimal direct sun and rarely need much shading to stay comfortable. East-facing ones catch the morning sun, which is milder and passes quickly, so they land as a reasonable middle ground.
The serious heat hits from the south and the west. West is actually the toughest to deal with, because the sun drops low in the afternoon and becomes really difficult to shade, happening exactly when the house is already baked to its highest temperature of the day.
A dormer loft window on the same elevation, with glass sitting vertically rather than angled into the sky, catches noticeably less. So the practical rule is to put rooflights on the north and east-facing slopes where they can do their job without a heat penalty and save dormers or a rooflight backed by serious external shading for anything facing south or west.
Insulation: PIR Versus Wood Fibre
Standard PIR board, which is that rigid, silvery, foil-backed foam most builders grab first, runs a thermal conductivity between 0.020 and 0.022. That allows it to achieve a fantastic U-value without taking up much thickness. It saves you precious headroom in a cramped loft, and it’s brilliant for locking heat inside during the winter. But the downside is its weight. Being so thin and light, it has virtually zero thermal mass. So the minute the roof tiles heat up, the sun’s energy punches right through the PIR and dumps into your room really fast.
Wood fibre insulation is a completely different story because it’s so much denser. Heat simply takes longer to push through it. Industry tests show it takes about eleven hours for heat to cross wood fibre, compared to maybe five or six hours for standard lightweight boards. That delay is a massive deal. It means the absolute worst of the daytime heat doesn’t actually hit the room ceiling until well after midnight. By that time, the outside air has dropped in temperature, and you can just flush the room out using that cross-ventilation we talked about earlier.
There’s also mineral wool, which is denser than PIR but doesn’t quite hit the summer performance levels of wood fibre. On actual job sites, a really standard setup is to pack wood fibre or flexible mineral wool between the roof rafters, and then run a thin layer of PIR underneath that to hit the required U-value without losing too much ceiling height.
Radiant Barriers and the Ventilation Gap
A radiant barrier makes a big difference, and it’s really just a sheet of reflective foil attached to the underside of the roof, pointing inward toward the loft, with a small air gap behind it. It bounces a significant chunk of heat right back out before it even has a chance to hit the insulation layers. That simple addition shaves another five to ten percent off the room’s temperature on a really sunny day.
But creating that ventilation gap is just as critical as the insulation you choose. You absolutely must leave a clear, open pathway for air to flow from the very bottom edge of the roof all the way up to the top ridge. If you cram insulation too tightly between the rafters and crush that gap, moisture gets locked underneath the roof tiles. Give it enough time, and that trapped moisture rots the structural timber, and it won’t matter how premium your insulation actually is.
Choosing Glass That Doesn’t Let the Heat In
Always check the glass’s g-value before you sign off on a design, because that number tells you the percentage of solar heat that will penetrate the glass and enter your room. If you look at a standard double-glazed rooflight, the g-value sits around 0.6. That means 60 to 70% of the sun’s energy blasts right through into the loft.
To put that in perspective, on a clear June afternoon, just one square metre of standard glass pumps in the same amount of heat as a small electric space heater running right over your head all day long.
If you swap that out for solar control glass, the g-value drops to between 0.25 and 0.35, so closer to a quarter or a third gets through instead, and the rest gets reflected or absorbed by the glass before ever reaching the room.
Wiring In Air Conditioning From the Start
If a loft gets used every day as a bedroom or a home office, wire in the electrics for a small mini-split air conditioning system from the start rather than adding one in later. Even when the budget doesn’t stretch to fitting the unit right away, put in the groundwork regardless, a spare electrical circuit, a route for the condensate drain, and a bit of wall space kept clear near the top of the room.
You do need to check one thing before you commit to the outdoor unit, though. The condenser box that goes outside usually clears permitted development rules, but if you live in a conservation area or an Article 4 direction zone, you might be required to get full planning permission.
A Summer Bypass on Whole-House Ventilation
If the conversion gets built airtight, which most new ones do for energy efficiency, look at a whole-house ventilation system with a summer bypass. These systems constantly swap stale indoor air for fresh air from outside and normally recover heat from the outgoing air to warm the incoming air in winter.
A summer bypass switches that heat recovery off automatically whenever the outside air runs cooler than inside, usually overnight, so the fresh air coming in stays fresh rather than picking up heat on the way through. Worth knowing this runs as a background system rather than an active cooler, so the system won’t replace shading or air conditioning on the worst days.
Trickle Vents
Trickle vents are also worth specifying properly, the small slotted openings built into a window frame for background airflow. They let a small amount of air through even when the window itself is closed, and they’re easy to overlook at the design stage since they don’t do much for winter comfort. In summer, they quietly keep a room breathing even when everything else is shut.
A Lighter Roof Does Some of the Work
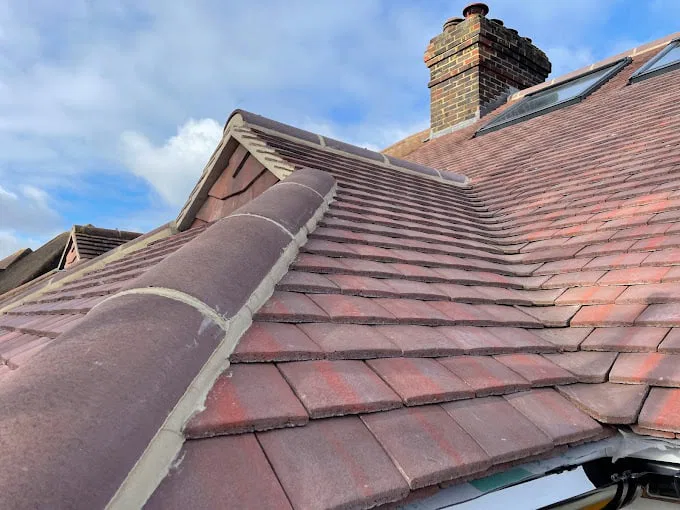
Light-coloured roof tiles physically bounce the sun’s energy away instead of absorbing it, which reduces overheating by roughly a third when you compare them to dark tiles. If you measure a spotless white roof that reflects 80% of sunlight, it will physically feel about 31 degrees cooler to the touch on a hot afternoon compared to a grey roof that only reflects 20%.
A major 2024 study that modelled the entire city of London found that reflective roofs actually beat out green roofs, solar panels, and street-level trees by a wide margin when it came to reducing surface heat. Green roofs actually underperform in our damp UK climate compared to what most people assume. In some cases, they trap daytime heat and stay warmer through the night, so you really only want to install them for the drainage and wildlife perks, rather than relying on them to cool the house.
You also have to remember that Permitted development usually dictates that new roof materials have to match the look of the existing street, so a blazing white roof is usually out of the question. The practical way to handle it is to just drop down a shade or two lighter within your approved tile range or apply a reflective coating to get some of the benefit without changing the whole colour scheme.
A Bonus If You’ve Got Solar Panels
Solar panels get mounted with a gap between the panel and the roof tiles, and this gap lets air move freely underneath, carrying heat away before reaching the roof surface at all. Measurements taken on panelled roofs found around a third less heat reaching the roof compared to bare tiles, so a loft sitting under a solar array tends to run noticeably cooler than one under exposed slate.
Designing for the Summers We’re Having Now
Whenever we sit down to design a loft conversion, we know there isn’t one magic loft product that fixes everything. It all comes down to a stack of smaller decisions that compound together.
If you’re working with a tight budget, you have to start with the absolute essentials. That means putting solar control glazing on your south and west-facing windows, getting the orientation and placement of your rooflights right, and setting the windows up for cross-ventilation.
If you have a bit more money to play with, you step up to external shading, putting shutters or awnings over the rooflights that take a beating from the afternoon sun, and you upgrade to a thermal-mass insulation setup using wood fibre instead of relying totally on PIR boards.
At the absolute top end of the budget, you look at a whole-house ventilation system with a summer bypass, or you wire in a mini-split AC unit right out of the gate. That handles the extreme heat that passive measures just can’t defeat on the worst days of the year.
Honestly, you don’t have to memorise all of this. That is exactly why we do this for a living. Bring us your space, tell us what you want to use the room for, and we will figure out exactly which of these elements make sense for your specific roof, your orientation, and your budget so you are not the one having to become an expert in glazing and thermodynamics yourself just to get a comfortable room.